Flying My T-Rex Into A Palm Tree!

Well its been a while since my last post, and this is part of what I have been doing since then. Lots of flying! I almost had 80 consecutive flights without a crash, but all of a sudden a palm tree jumped up out of no where! I was practicing counterclockwise circles, and misjudged my distance from the one and only near by tree. To make a short story even shorter, I just smacked into the top of the palm tree with lots of forward speed, and nearly full throttle/pitch.
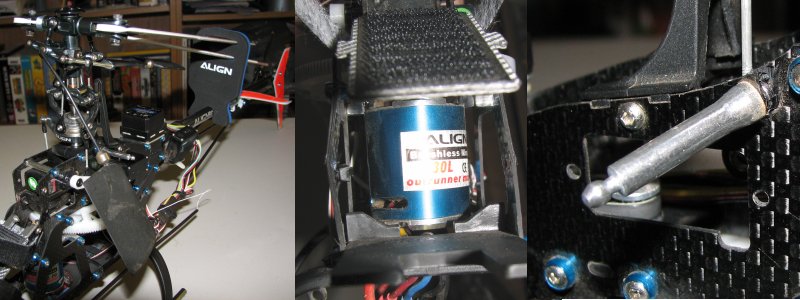
Quite to my surprise when inspecting the heli, the blades were not visibly damaged, and both shafts were perfect (rolled on glass to check)! This crash messed up my frames though, so I bought new frames and decided to reinforce them as best I could. I added two braces in the front where the frame bowed out from the crash, and I used the canopy mounts from the Thunder Tiger E-Titan.

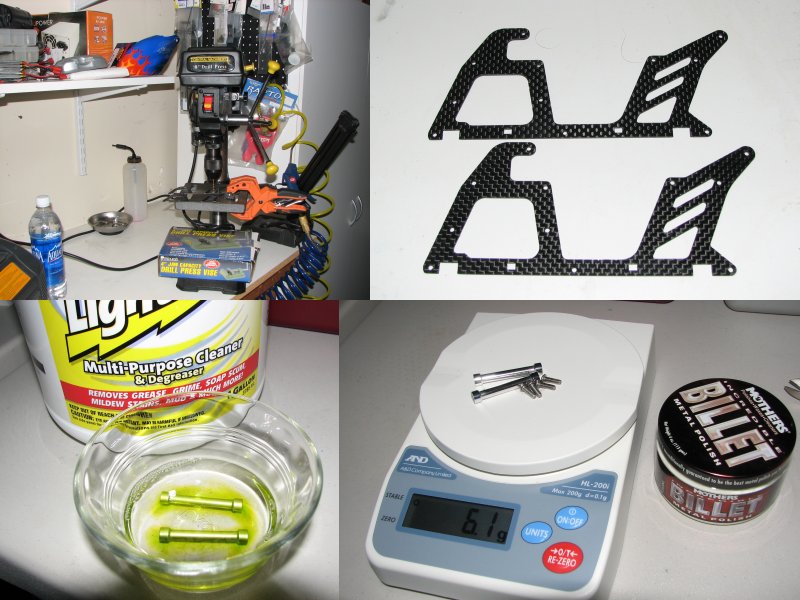
The effort needed to do these modifications was minimal since I had to tear down the heli anyway. I decided this was a great opportunity to use my new Harbor Freight drill press that I got on sale, and just drilled out two set of holes in the frames. After some searching around, I found out that an r/c car company, Axial, makes posts that are nearly a perfect fit for my modification. They're 40mm long, and the distance between the frame sides is 39mm. The part number is AXA1316. A little sanding to shorten the posts was all that's needed, and since I didn't want green anodized parts on my heli, I stripped off the green with some Greased Lightning. In less than 10 minutes the green was melted off as if it was food coloring :) Just for the heck of it, I polished the posts to a nice shiny silver. The added weight was minimal, with the two posts and the four screw weighing in at just over 6 grams.
To use the Thunder Tiger canopy mounts (item PV0816 for aluminum, PV0720 for plastic) was trivial. Just ream out the holes in the frames, and install the new mounts. The tube that connects the two mounts is shorter than the distance between the T-Rex frames, and I needed to use five washers to shim it up nice. The mounts have a long threaded part, so they still had lots of threads inside the tube when installed.
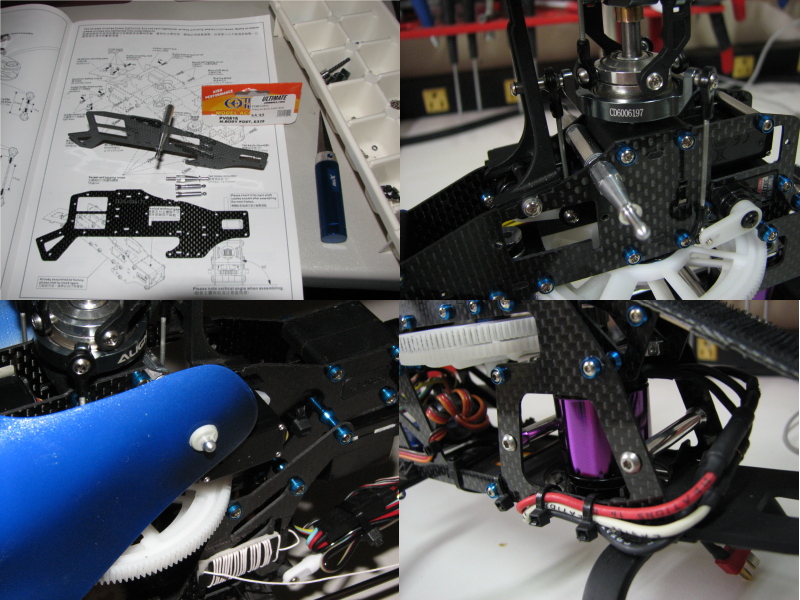
You can also see the installed Axial posts in the above image. I think this will help out a lot in the future, since my T-Rex is my "bashing" heli that I use to practice new stuff. While rebuilding the heli, I installed the few remaining aluminum goodies that I was saving for my next crash, checked all bearings and linkages (replaced some) and dropped in a Hacker A20-6XL and a Phoenix 35 that I had laying around. This should give me a little more power for the next time I want to ram into a palm tree :)

-Farrell
My Best Canopy Yet!

Well I finally decided that a high quality clear coat would be nice to have. I stopped by Coast Airbrush, and after talking with one of the guys that works there, I settled on a two-part clear made by Virtus. It's a high solids type of clear coat, so it goes on thick, making it easier for a beginner. A quart of the clear (#276), a pint of the hardener (#277) and 4 oz. of HOK RU311 Reducer cost close to $80! But it's definitely worth it. The high-end stuff makes this look cheap :) To apply it you mix two parts clear, one part hardener, and add 10-15% reducer. You have 3 - 4 hours to shoot it, and it takes 24 hours to cure at room temperature.

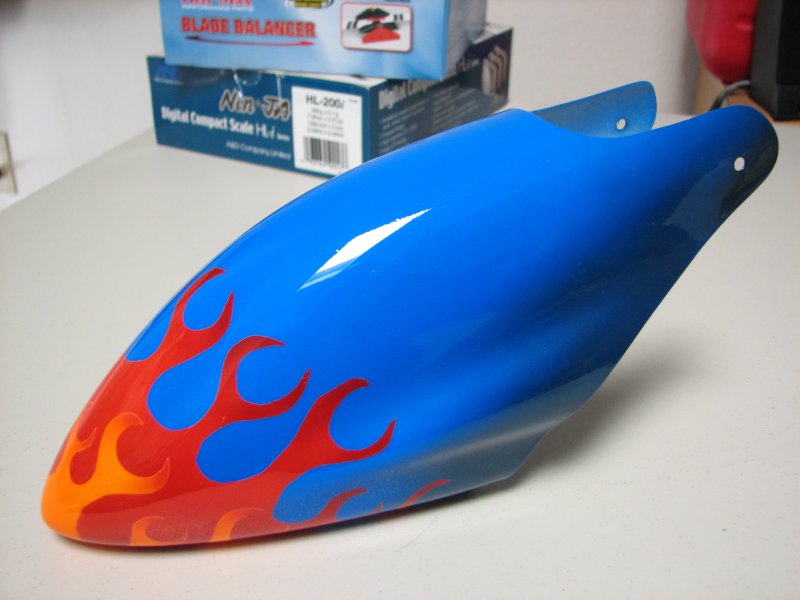
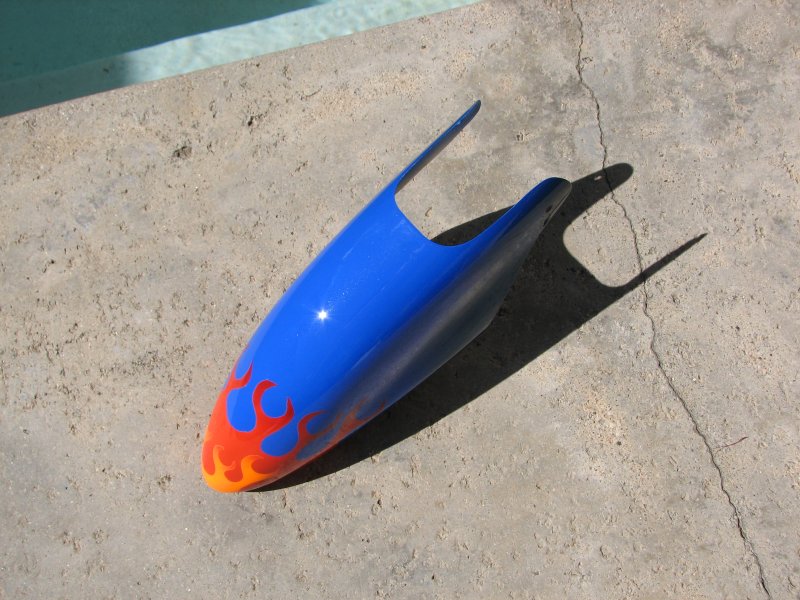
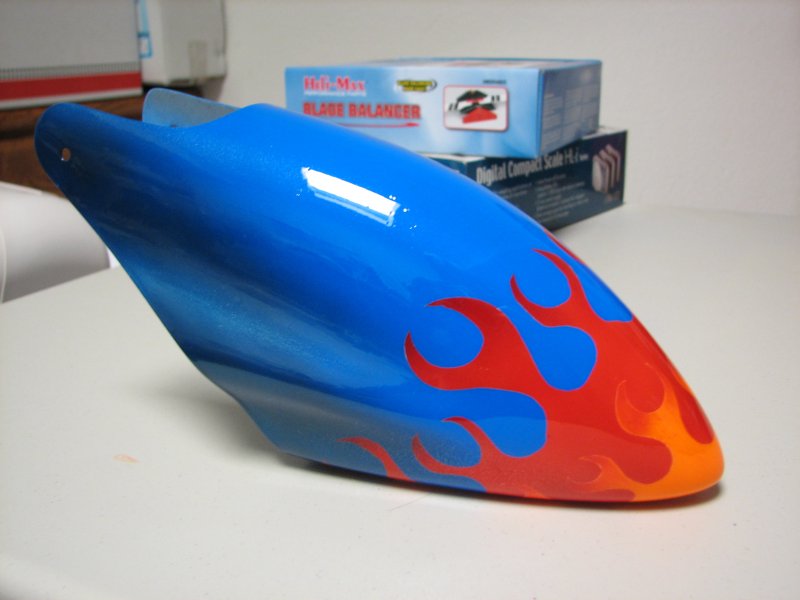
I decided upon a simple cartoon flames design, and again high visibility is the goal. I have two layers of flames, and I attempted to makes the tips of the flames a little darker. I need to work on that, as it didn't turn out as planned. The rest of the canopy is Blue Streak, with Metallic Blue mixed in with Outlaw Black to highlight the edges.

When I shot the clear I must have not cleaned the surface enough, because I ended up with several small bumps and dimples in the clear. They are small enough that you can't see them in flight, so I did not bother to sand off the clear and try again. Something to keep in mind for my next canopy.

This was also my first time painting a fiberglass canopy. These photos do the clear coat no justice. The top view really shows the quality of the gloss. In the mornings, the sky reflects beautifully off of it! Amazing...

-Farrell

My Second Airbrushed Canopy

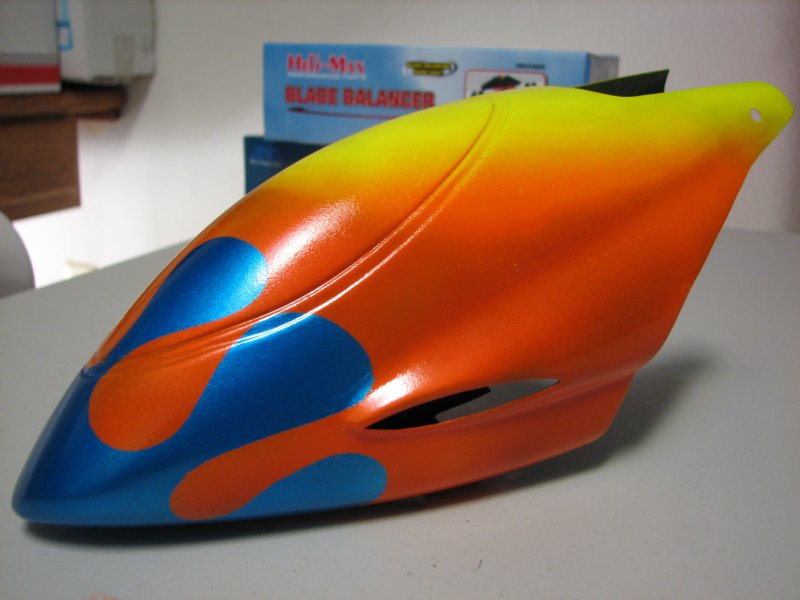
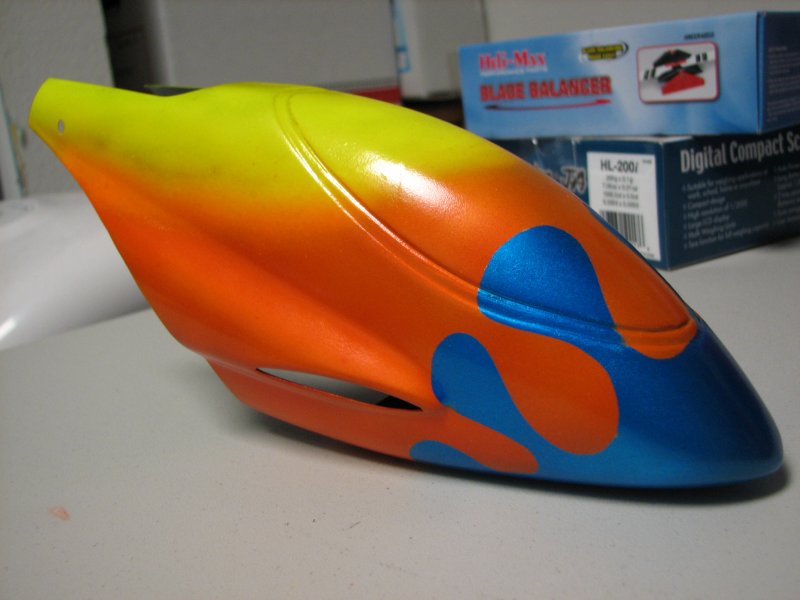
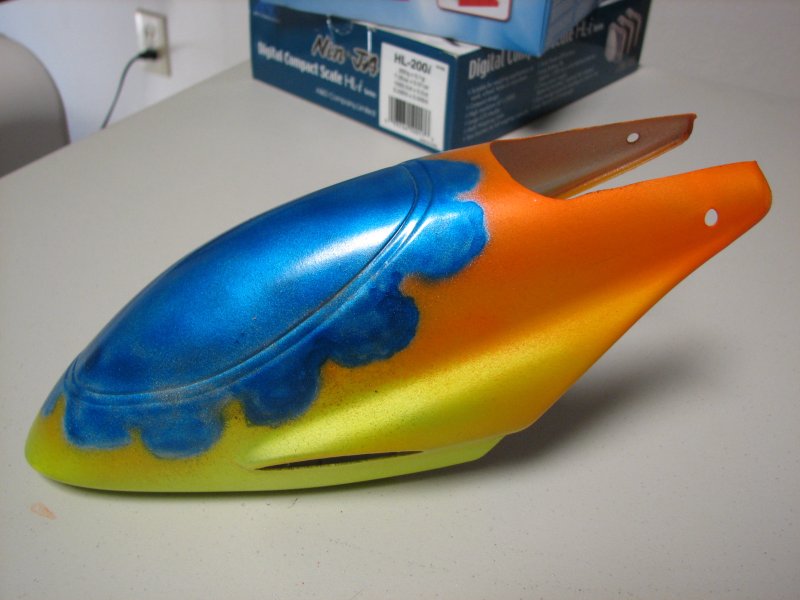
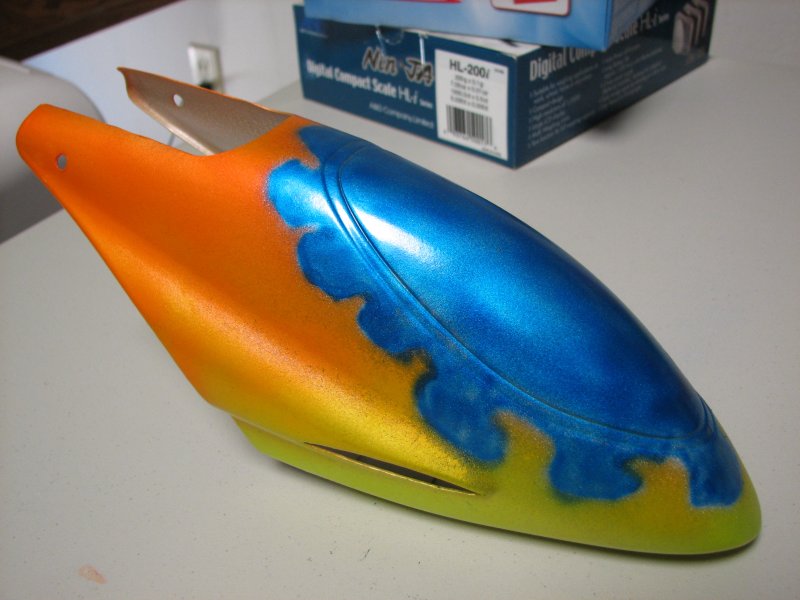
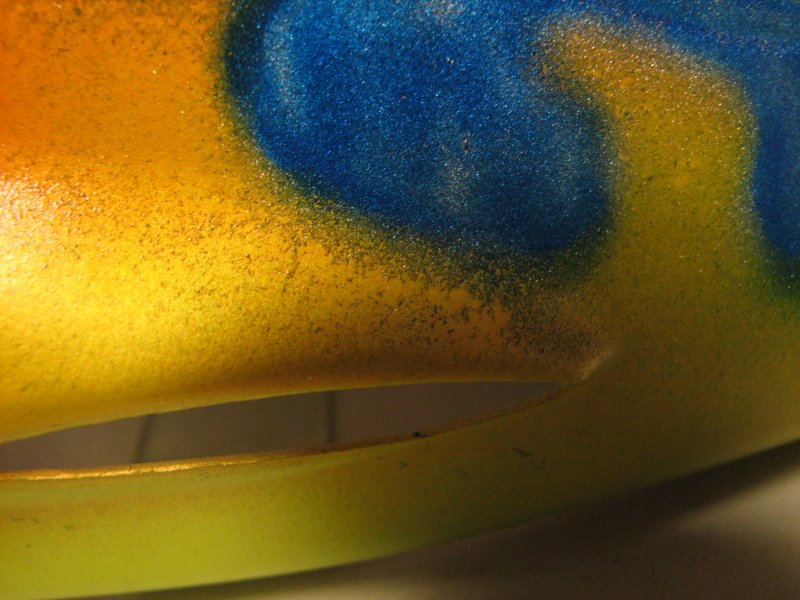
This one turned out decent. It too was inspired from a paint job I saw on RunRyder, but I can not find the image now. Its just a paint splash effect on the nose, in a complimentary blue color to the orange/yellow fade on the rest of the canopy. Unfortunately I shot the orange first, and forgot to shoot the light color (yellow) first. This made the yellow very difficult to fade in, as the orange would show through very easily. Oh well, live and learn.

The colors used are: Indy Silver (to back the blue,) True Blue Pearl, Florescent Orange, and Florescent Yellow. I clear coated it with LustreKote Crystal Clear, and this gave a decent gloss finish. Not as good as a two-part automotive clear, but a hell of a lot cheaper and simpler.

-Farrell

My First Airbrushed Canopy... A Disaster :)

Well I finally used up most of my aerosol paint, so I could justify buying several jars of airbrush paint. I'm still using the same brand of paint, Pactra Racing Finish (a Testors brand) and it works very well. On this first attempt I learned sooo many lessons.

1. Shoot lacquer-base paints at low pressure (5-15 psi) ... shooting at 20-30 psi like I had been used to when practising with some cheap acrylic paint, results in the paint drying before it hits the canopy, or being just barely wet enough. This makes the paint look grainy, and it will flake off just by running your finger over it. This is visible in the third photo.

2. Don't try to airbrush a drippy paint look free-hand, it will turn out horrible. The use of masks or stencils is essential (unless perhaps you've mastered the airbrush)

3. LusterKote clear coat is good stuff, but its not a high gloss clear. It works very very well though... it's practically the only thing holding my poor paint job to the plastic :)

This turned out so bad I don't know why I kept it, or am posting it. Perhaps as a lesson to others? In any case, I also learned how to do a basic fade, and slightly refined my freehand airbrushing abilities.

Oh, and my inspiration for this is an excellently painted Raptor canopy:
http://www.runryder.com/helicopter/t373817p1/
http://s168.photobucket.com/albums/u179/eartaker/Helicopter%20training/

-Farrell

Another Painted Canopy

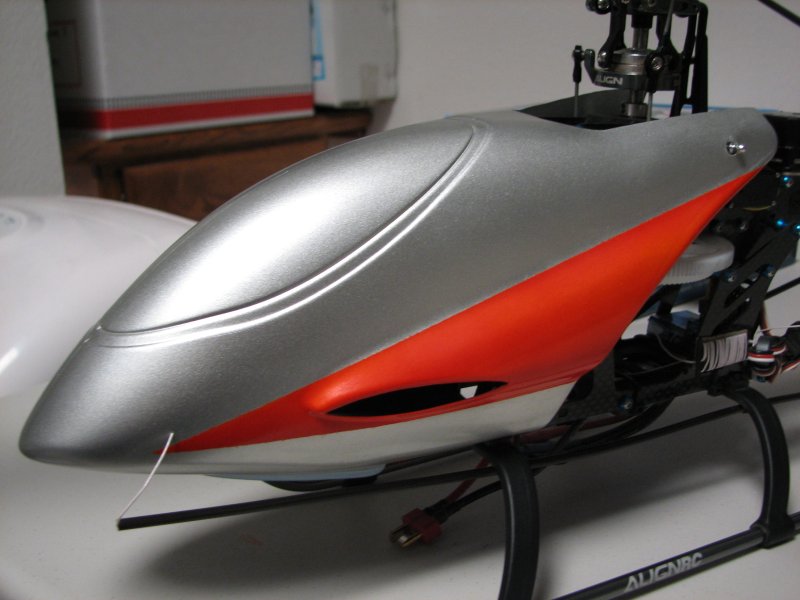
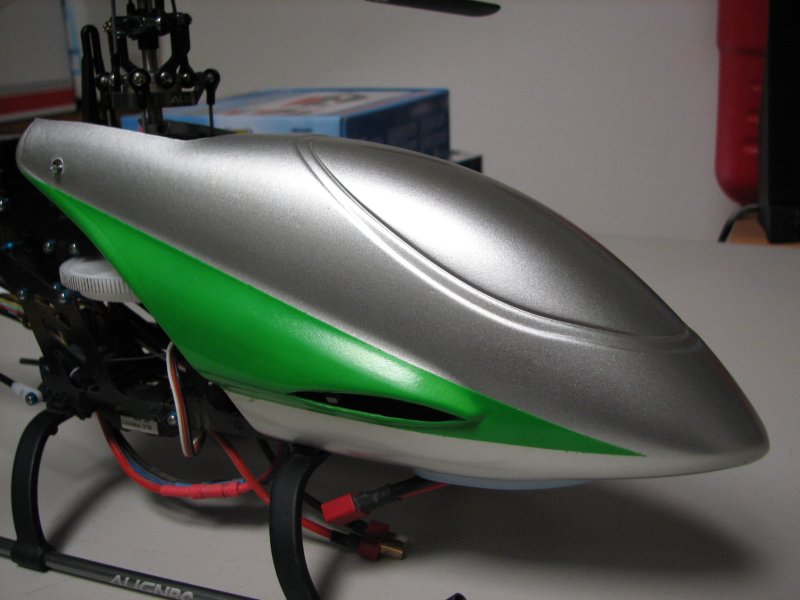
This was my last canopy to paint before using my airbrush, and this one actually turned out very nice. It is a white plastic canopy from Align, and I half-ass'd sanded it to remove the seam down the center, but I got lazy so it still shows through a little. After the light sanding, I sprayed Dupli-Color Adhesion Promoter on it as a primer. I then sprayed Indy Silver as a base coat, then masked off the two triangles and pained them Florescent Orange, and Florescent Green. To finish it off I lightly sanded it to help smooth out the layers of orange and green so I don't get a small ridge in my clear coat where the masking tape was. I then let the canopy dry/cure overnight, and sprayed it with Dupli-Color High Performance Wheel Coating (glossy clear coat.) The clear turned out very good for an aerosol job, the only drawback being that it takes a whole week to fully cure. The finish is a fairly high gloss, but not as good as a quality two-part clear.

I got the Dupli-Color products at PepBoys, an automotive store. I am very pleased with the results, and continue to fly this canopy. The only thing I forgot to do was give the nose something to make it more visible, because if you are exactly nose-in, the canopy can mostly blend into a bright sky. Small problem, but I resolve the issue in my airbrushed canopies.

-Farrell

Visiting Southern California?
You might like these places: